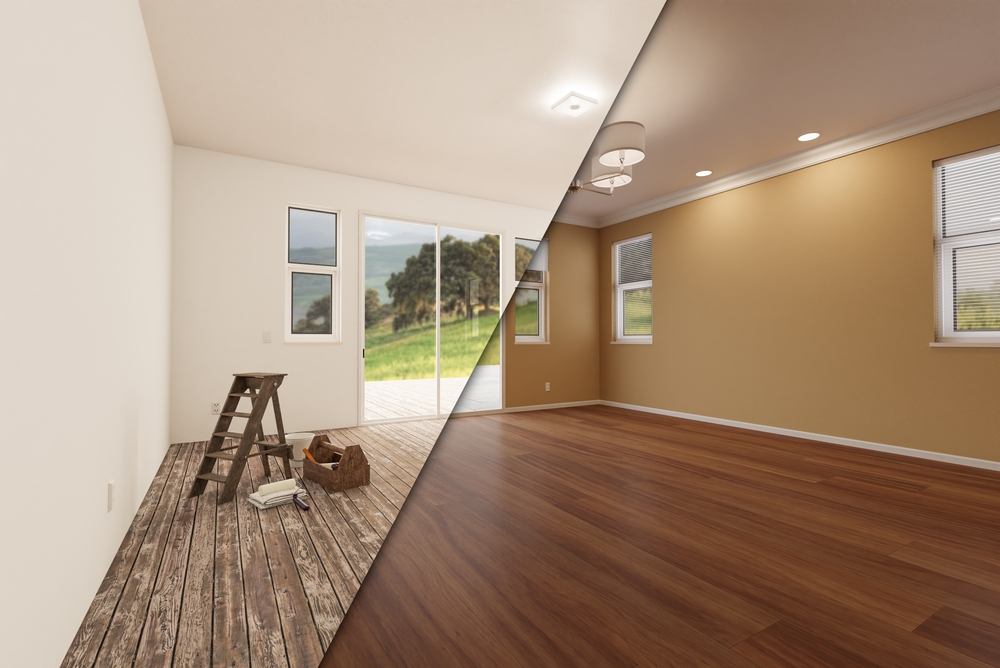

What if I told you that the most expensive paint in the world won’t save a poorly prepared surface? That the color you agonized over for weeks matters far less than what happens before it ever touches your walls? Most people approach painting backwards.
They focus on choosing the perfect shade, debating between eggshell and satin, comparing paint brands like they’re shopping for a luxury car. Meanwhile, the real determining factor of whether their paint job succeeds or fails gets treated as an afterthought. The truth is uncomfortable but liberating once you accept it: your walls don’t care what color you choose or how premium your paint is. They care about one thing above all else. Are you ready to hear what actually makes or breaks every single paint project?
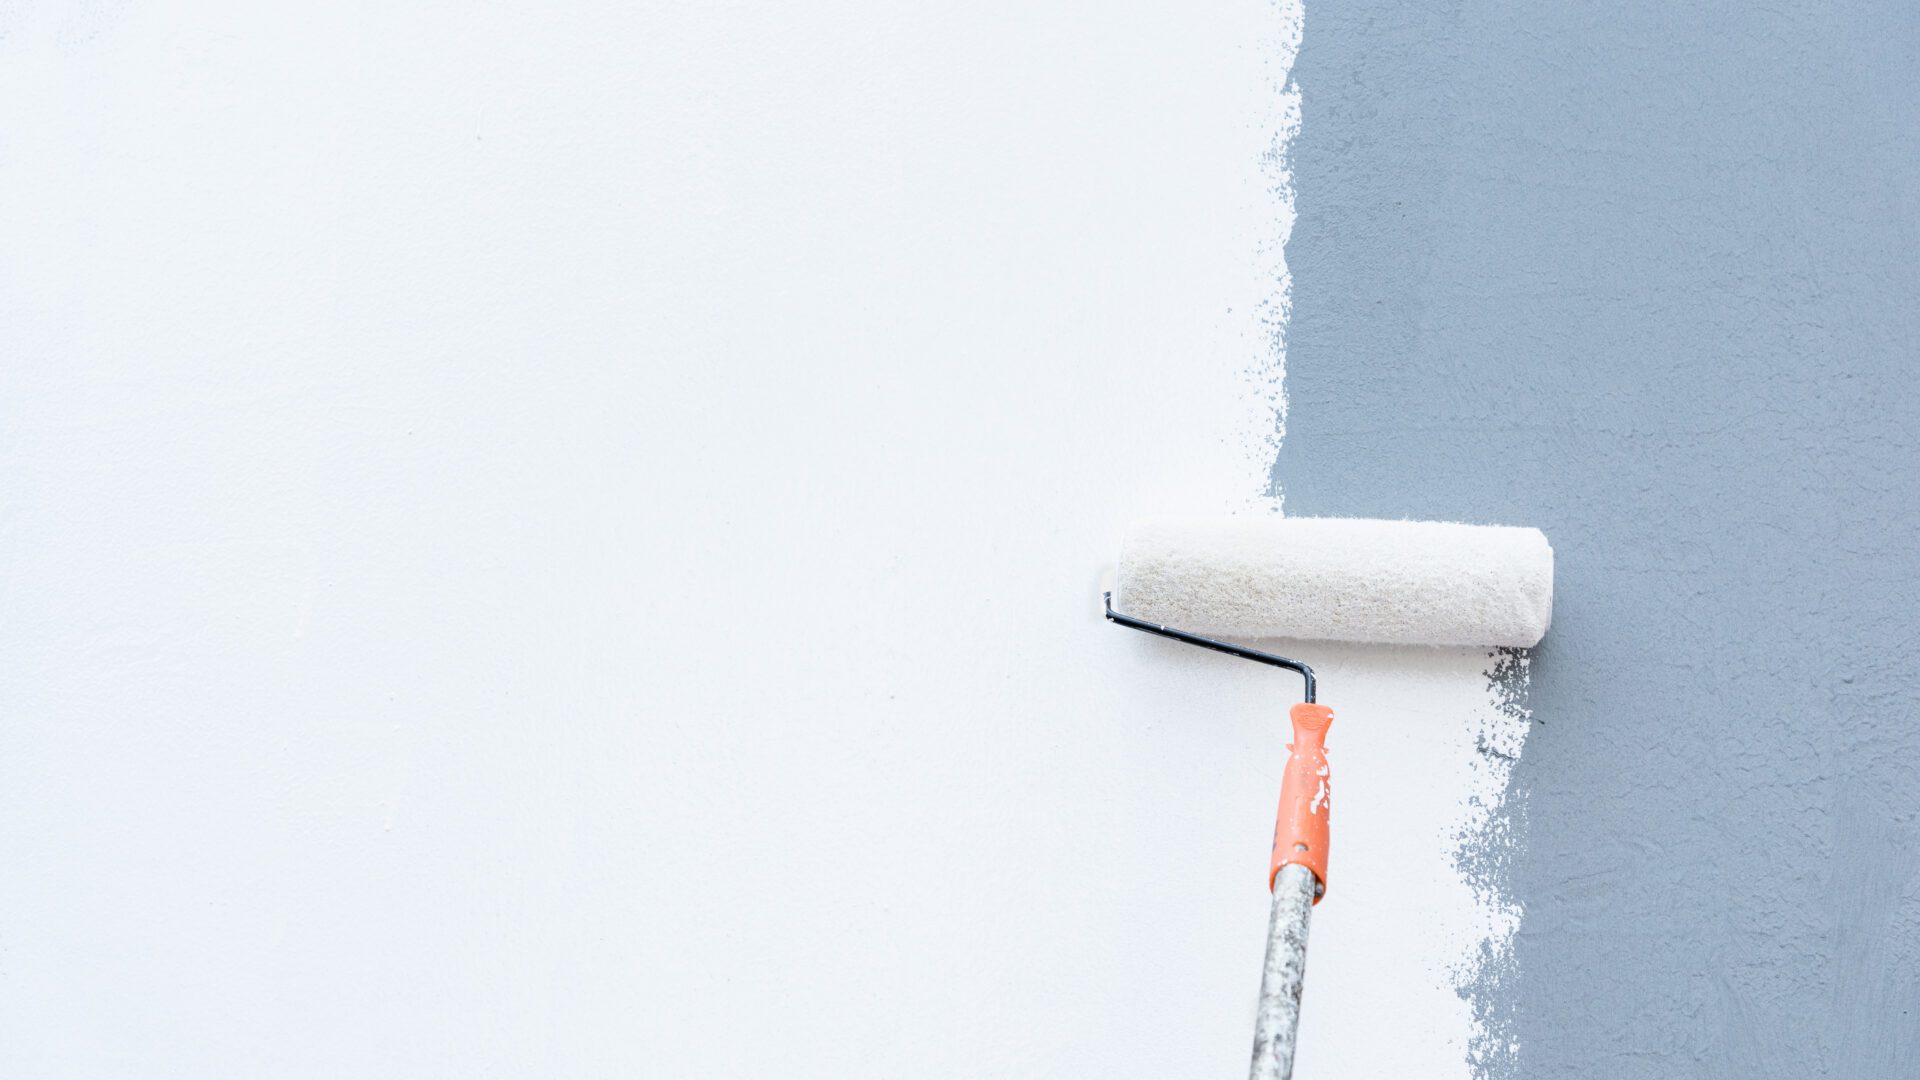
The Uncomfortable Truth About Painting
Here’s something most people don’t want to hear: painting is actually the easy part. I know that sounds backwards. After all, we call ourselves painters, not “surface preparers.” But after years in this business, I can tell you without hesitation that the quality of your final result is determined almost entirely before any color touches your walls.
Think about it like building a house. You wouldn’t frame walls on top of mud and hope for the best, right? The same principle applies to painting. The surface underneath dictates everything that happens on top. A beautiful paint color on a poorly prepared wall is like putting premium tires on a car with a cracked frame. It might look good initially, but it won’t last.
Why Surface Prep Actually Matters More Than Paint Quality
Let me share something that surprises most homeowners. You could use the most expensive, highest-quality paint available and still end up with a failed paint job if your prep work was lacking. On the flip side, mid-grade paint applied to properly prepared surfaces will outperform premium paint on unprepared walls every single time.
This isn’t just theory. Paint manufacturers themselves will tell you that adhesion problems account for the vast majority of paint failures. And adhesion has everything to do with what’s happening at the surface level before paint application.
When paint fails, it’s rarely because the paint itself was defective. Modern paints are incredibly well-engineered products. They fail because they were asked to do something impossible: stick to surfaces that weren’t ready to receive them.
The Science Behind Paint Adhesion
Paint doesn’t just sit on top of your walls like a blanket. At a microscopic level, it needs to form a mechanical and chemical bond with the surface. Think of it like Velcro. For Velcro to work, both sides need to be clean and properly aligned. One side has tiny hooks, the other has tiny loops. If those loops are clogged with lint, the connection fails.
Your walls are the same way. Paint needs a clean, slightly rough surface to grab onto. When walls are dirty, greasy, glossy, or flaking, paint has nothing to bond with. It might look fine when wet, but as it dries and cures, the lack of proper adhesion becomes apparent.
This is why you can’t just paint over existing problems and expect them to disappear. That water stain on your ceiling? The grease splatter behind your stove? The glossy old paint in your bathroom? Each of these presents a unique challenge that needs addressing before new paint goes on.
What Proper Surface Preparation Actually Involves
Surface prep isn’t a single step. It’s a series of critical tasks that create the ideal canvas for paint. Skip any of them, and you’re rolling the dice on your results.
Cleaning
This seems obvious, but it’s amazing how many people underestimate how clean a surface needs to be. We’re not talking about a quick wipe-down. Walls accumulate years of cooking grease, smoke residue, hand oils, dust, and other contaminants that create an invisible barrier between your paint and the surface.
Professional painters in Warrington use TSP (trisodium phosphate) or similar deglossers to cut through buildup that regular cleaners miss. In kitchens especially, this step can make or break your project. I’ve seen paint literally slide off walls that looked clean but were coated in a thin film of cooking oil.
Repairing Damage
Every home has them: nail holes, cracks, dents, and dings. These need proper repair, not just a quick smear of spackle. Small holes require filling and sanding flush. Larger damage might need drywall repair in Montgomery County or even replacement. Cracks need to be opened up, filled properly, and sometimes reinforced with mesh tape to prevent them from returning.
Here’s where DIY efforts often fall short. It’s tempting to fill a hole and call it done, but proper repair means building up the surface in layers, allowing each to dry completely, and sanding between coats. Rushing this process leads to repairs that sink, crack, or remain visible through your new paint.
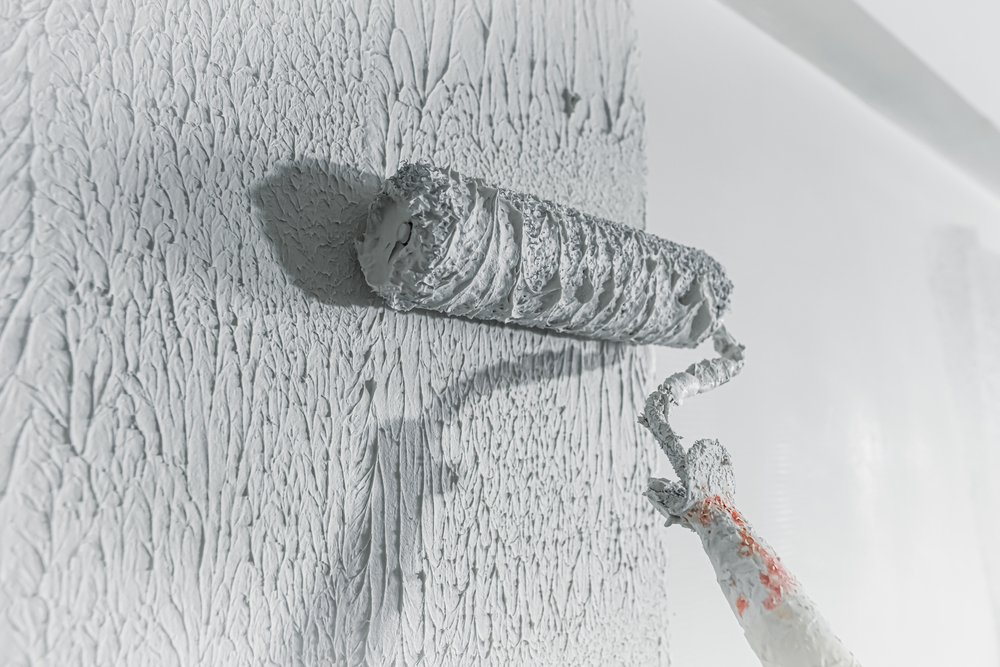
Sanding
This is probably the least favorite task in any painting project, and it’s the one most likely to get shortchanged. Sanding serves multiple purposes. It smooths out repairs, removes loose paint, dulls glossy surfaces so new paint can adhere, and creates a uniform texture across your walls.
Different situations call for different approaches. Sometimes you need aggressive sanding to remove failing paint. Other times, a light scuff sand is enough to create tooth for your new finish. The key is knowing which approach fits your specific situation.
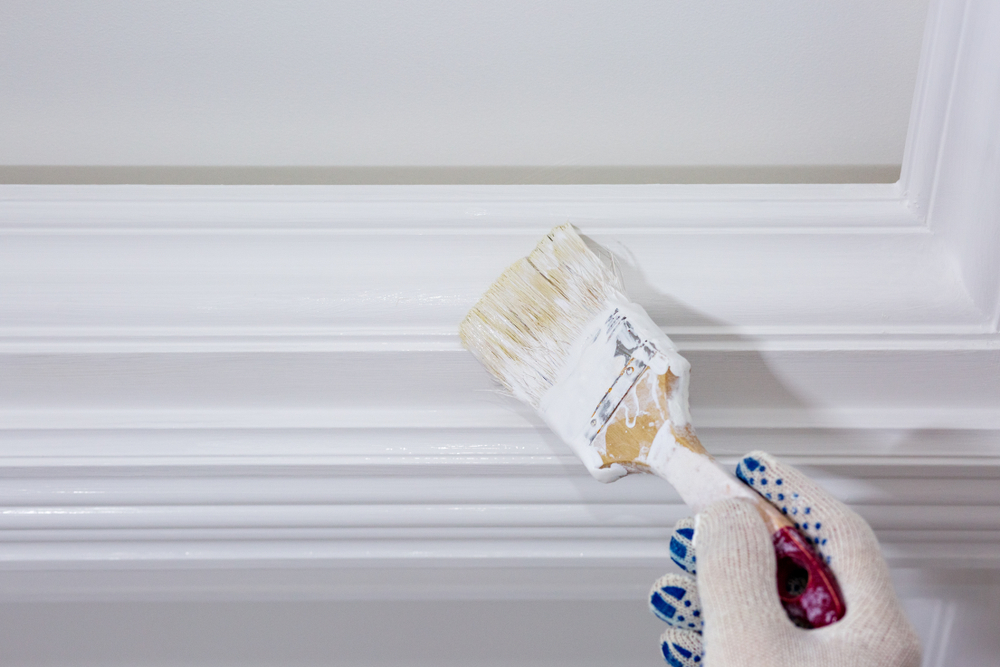
Priming
Primer isn’t just cheap paint. It’s a specialized product designed to solve specific problems. Stain-blocking primers seal in water stains, smoke damage, and tannins that would otherwise bleed through your finish coat. Adhesion primers help paint stick to glossy or challenging surfaces. High-build primers fill minor imperfections and create a uniform surface.
Skipping primer is one of the most common mistakes in DIY painting. People see it as an unnecessary expense or extra step. In reality, primer can mean the difference between a paint job that lasts two years and one that lasts fifteen.
Common Surface Prep Mistakes
Let me walk you through the mistakes I see most often when homeowners tackle painting themselves. These aren’t meant as criticisms. Painting seems straightforward until you’re actually doing it, and it’s easy to overlook steps that seem minor but have major consequences.
Not cleaning thoroughly enough: A damp cloth isn’t sufficient. Walls need proper degreasing, especially in kitchens and bathrooms.
Using the wrong products for repairs: Spackling compound and joint compound aren’t interchangeable. Using lightweight spackle on large repairs leads to cracking. Using setting-type compound where you don’t need it creates problems too.
Insufficient sanding: Sanding until something looks smooth isn’t enough. You need to sand until it feels smooth under your hand. Run your fingers over your repairs. If you can feel them, they’ll show through your paint.
Painting over glossy surfaces: Old semi-gloss or high-gloss paint needs to be dulled before repainting. New paint won’t stick to that slick surface without proper scuff sanding or a bonding primer.
Ignoring moisture issues: If you have water stains, peeling paint, or bubbling, there’s moisture getting in somewhere. Painting over these problems just covers them temporarily. The issue will return, often worse than before.
Rushing the process: Each step needs adequate drying time. Spackle needs to cure. Primer needs to dry. Trying to speed through these stages compromises the entire project.
The Real Time Investment in Surface Prep
Here’s a breakdown that might surprise you. On a typical interior painting project, this is roughly how time gets allocated:
| Project Phase | Percentage of Total Time | Why It Matters |
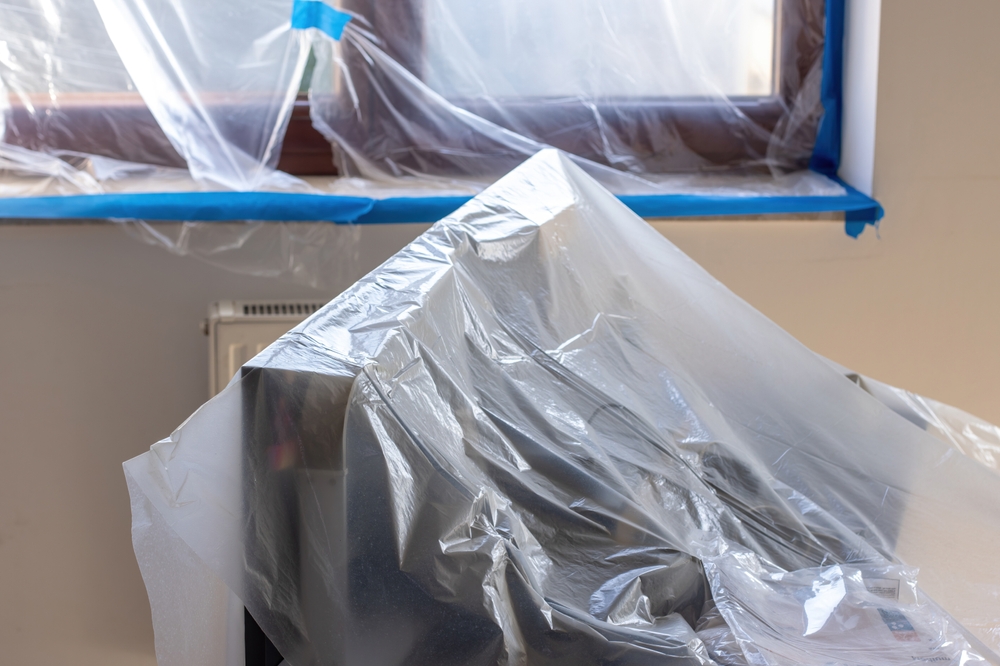
| Moving furniture, covering floors, taping | 15% | Protects your belongings and creates clean lines |
| Cleaning surfaces | 10% | Ensures paint can properly adhere |
| Repairs and patching | 20% | Creates smooth, uniform surfaces |
| Sanding | 15% | Perfects repairs and creates proper texture |
| Priming | 10% | Seals problems and creates ideal base |
| Painting (actual color application) | 20% | The visible result of all previous work |
| Second coat and touch-ups | 10% | Ensures even coverage and perfect finish |
Notice that actual paint application represents only about 30% of the total project time when you include both coats. The remaining 70% is preparation and protection. That’s not inefficiency or padding the timeline. That’s what it takes to do the job right.
Why DIY Surface Prep Often Falls Short
I have tremendous respect for homeowners who tackle their own projects. There’s real satisfaction in improving your home with your own hands. But painting is one of those tasks that looks much simpler than it actually is.
The biggest challenge isn’t lack of skill or effort. It’s usually one of three things: time, tools, or knowledge.
Time is the biggest factor. Professional painters work efficiently because we do this every day. Tasks that might take a homeowner all weekend, we complete in hours. More importantly, we can dedicate uninterrupted time to a project. When you’re fitting painting around work, family, and other obligations, it’s hard to maintain the momentum needed for proper prep work.
Tools matter more than most people realize. Professional-grade sanders, sprayers, and application tools make a real difference in results. But beyond that, we have specialized tools for specific situations. The right tools make proper prep possible. Without them, you’re fighting an uphill battle.
Knowledge comes from experience. We’ve seen what happens when you skip steps. We know which primers work for which problems. We can spot potential issues before they become problems. This knowledge isn’t in any instruction manual. It comes from doing thousands of projects and learning from both successes and mistakes.
When Surface Prep Gets Complicated
Some situations require more than standard prep work. These are the scenarios where professional help becomes especially valuable.
Lead paint requires special handling. Homes built before 1978 likely contain lead paint somewhere. Disturbing it without proper precautions creates serious health risks. Professional lead paint testing and certified removal protect your family.
Extensive water damage needs investigation and proper remediation before painting. Simply covering stains with primer doesn’t address the underlying moisture problem. That leads to mold, continued damage, and paint failure.
Severe paint failure across large areas might indicate serious problems. When paint is peeling, bubbling, or flaking extensively, something significant is wrong. It could be moisture intrusion, incompatible paint layers, or substrate problems. These situations need proper diagnosis.
Textured surfaces present unique challenges. Popcorn ceilings, heavy wall textures, or damaged plaster all require specialized approaches. The wrong technique can make things worse rather than better.
The Investment That Pays Off
Proper surface preparation costs more upfront. There’s no getting around that fact. It takes more time, more materials, and more expertise. But consider the alternative.
A paint job done without proper prep might look acceptable initially. Give it six months or a year, and problems start appearing. Paint peels in corners. Repairs become visible. Colors look uneven. Water stains bleed through. Now you’re facing the project again, except this time you need to remove the failed paint first.
Quality preparation means your paint job lasts. We’re not talking about an extra year or two. Properly prepared and painted surfaces can look great for a decade or more with basic maintenance. That’s the difference between repainting every few years and enjoying your beautiful walls for the long term.
What Professional Preparation Looks Like
When you hire professional painters who take prep seriously, you’ll notice certain things. They spend time examining your walls before making recommendations. They discuss problem areas and how they’ll address them. They don’t rush the estimate or promise unrealistically fast completion.
During the work, you’ll see them dedicating substantial time to prep. There will be sanding dust (contained with proper drop cloths). You’ll see multiple products: cleaners, primers, different compounds for different repairs. The work area will be well-protected but thoroughly torn apart for proper access.
Most telling, they won’t rush to get paint on walls. A crew that shows up and starts rolling color within an hour isn’t doing adequate prep. Quality work takes time, and most of that time happens before color application begins.
Making the Right Selection
Here’s what it comes down to: you can hire someone to put paint on your walls, or you can hire someone to properly prepare and paint your walls. The difference in cost might be 20 or 30 percent. The difference in results is easily 200 or 300 percent.
Surface preparation isn’t glamorous. It doesn’t provide instant gratification. Nobody looks at a perfectly sanded repair and gets excited. But that prep work is what makes the difference between a paint job that transforms your space and one that disappoints you within months.
The next time you’re considering a painting project, whether DIY or professional, remember this: the quality of your finish is decided before the first drop of color hits your walls. Invest the time, effort, and resources in proper preparation.
Contacting a reputable painter like Proper Painting is half the battle. Your walls will thank you for years to come. Because at the end of the day, we’re not really in the painting business. We’re in the surface preparation business. The painting is just the reward for doing everything else right.