It’s the fear of every homeowner. You finished painting a wall yourself, stepped back to admire your handiwork, and noticed that tell-tale cascade of color near the bottom? That thick, dripping curtain, like melted frosting, is what painters call sagging or running.
It ruins the flawless finish you were aiming for and instantly separates a smooth, professional job from a hasty DIY attempt. This common painting failure is not a sign of poor quality paint; it’s a direct outcome of mismanaging two simple but critical variables: the thickness of the application and the environmental conditions during the application.
Understanding how temperature and speed conspire to create these unsightly drips is the key to ensuring your walls cure to a perfectly uniform, professional finish.
Gravity’s Nemesis: Understanding Viscosity and Flow
Paint sagging or running is essentially a gravity problem. When paint is applied to a vertical surface, the wet film has a certain resistance to flow, known as viscosity. If the wet film becomes too thick or stays wet for too long, gravity wins, pulling the paint downward before it can set up or cure.
In technical terms, paint manufacturers formulate their products with a property called thixotropy. This means the paint is thicker in the can (high viscosity) but thins out when agitated (brushed or rolled) for easier application. Once on the wall, it needs to rapidly regain its viscosity to hold its shape.
Sagging happens when the paint doesn’t regain that crucial high viscosity fast enough. This failure is almost always linked to application technique and environment. A trained residential painter in Collegeville can help mitigate these issues.
The Application Speed Conundrum (The DIY Hurdle)
The most frequent cause of sagging, particularly in DIY projects, is inconsistent or heavy-handed application speed. Homeowners often mistakenly believe that applying more paint in one pass is more efficient.
- Overloading the Brush or Roller: Loading too much paint onto the applicator transfers an excessively thick film to the wall. The solvent (usually water for latex paint) then takes too long to evaporate, keeping the film runny and vulnerable to gravity.
- Inconsistent Overlap: When applying paint, each pass should slightly overlap the previous one. If you slow down too much on the overlap, you deposit a double layer of paint in that specific area, creating a thick band that’s guaranteed to run.
- The Second Coat Too Soon: Attempting to correct a thin spot or missed area by immediately reapplying a second coat while the first is still wet introduces an overwhelming amount of liquid to the surface, guaranteeing sag.
The professional advantage lies in trained muscle memory. Proper painters maintain a rapid, consistent stroke, ensuring they only deposit the paint film thickness required by the manufacturer, which is typically measured in mils (thousandths of an inch).
Temperature’s Double-Edged Role in Sagging
Temperature and humidity dictate how quickly the solvent leaves the paint film, making them crucial factors in preventing runs.
Cold Temperatures (Below 60°F)
This is a primary cause of paint running. Here’s how:
- Slow Evaporation: Cold air holds less moisture, but more importantly, it slows the evaporation rate of the paint’s solvent (water). The paint remains wet and mobile on the wall for a longer period.
- Poor Coalescence: The binders, which are the resins that make the paint stick and harden, need warmth to fuse together properly. In cold conditions, the binders don’t link up quickly, delaying the paint’s ability to “set up” and resist gravity. The film stays soft and heavy.
High Temperatures (Above 85°F)
While high heat causes paint to dry quickly, it often leads to premature sagging in the opposite way.
- Poor Wet Edge Management: High heat causes the surface of the paint to skin over rapidly (dry to the touch) but leaves the underlying layers still liquid. If a painter attempts to blend a lap joint or overlap too late, the surface skin breaks, and the newly applied wet paint flows into the broken skin line, causing thick, noticeable runs.
The Professional Strategy: Controlling the Environment
A professional house painter in Hatfield and elsewhere doesn’t just work around environmental conditions; they manage them. This is where expertise significantly minimizes the risk of sagging.
Key Environmental Control Measures:
- Strategic Use of Additives: Professionals sometimes use specific paint additives (extenders or levelers) which are designed to slow down the paint’s drying time slightly. This is counterintuitive, but it allows the paint more time to flow out smoothly and self-level before it skins over, preventing trapped brush marks or uneven spots that often lead to runs. This is commonly done in hot, dry conditions.
- Climate Modification: Using dehumidifiers, air movers, or temporary heaters to stabilize the room temperature within the manufacturer’s specified range (typically 65°F to 75°F) is a standard practice for maintaining optimal curing.
- Ambient Surface Checks: Checking the wall surface temperature, not just the air temperature, ensures the substrate is warm enough for proper adhesion and coalescence.
Remediation: Fixing Runs and Sags
If a run or sag occurs, the first rule is: Don’t try to fix it while the paint is still wet! Attempting to brush out a run only smears the heavy paint film across a larger area, making the final repair much worse.
The proper method for fixing dried runs requires patience and precision:
- Let it Cure: Allow the paint film to dry and cure completely. This might take 24 to 48 hours.
- Scrape/Sand: Use a razor blade or 5-in-1 tool to gently scrape off the crest of the run. Follow this with fine-grit sandpaper (around 180 to 220 grit) to carefully smooth the area down to the level of the surrounding wall.
- Clean and Recoat: Wipe away all sanding dust. Apply a thin coat of paint to the repaired area, ensuring the entire wall gets a light, uniform coat if necessary to maintain consistent texture.
Techniques That Guarantee Smoothness
Professional painters rely on predictable techniques that guarantee an even distribution of paint, neutralizing the risk of sagging before it starts.
| Technique | Goal | Application Focus |
| Roller W-Pattern | Even film distribution and tension. | Apply paint in a ‘W’ shape, then fill it in with smooth vertical strokes, without lifting the roller. |
| Wet Edge Management | Prevent visible lap marks and heavy overlaps. | Always roll back into the recently painted area while the edge is still wet, especially in hot conditions. |
| Load Reduction | Prevent excessive film thickness. | Only dip the roller halfway into the tray’s well, and fully roll it on the grid to squeeze out excess before hitting the wall. |
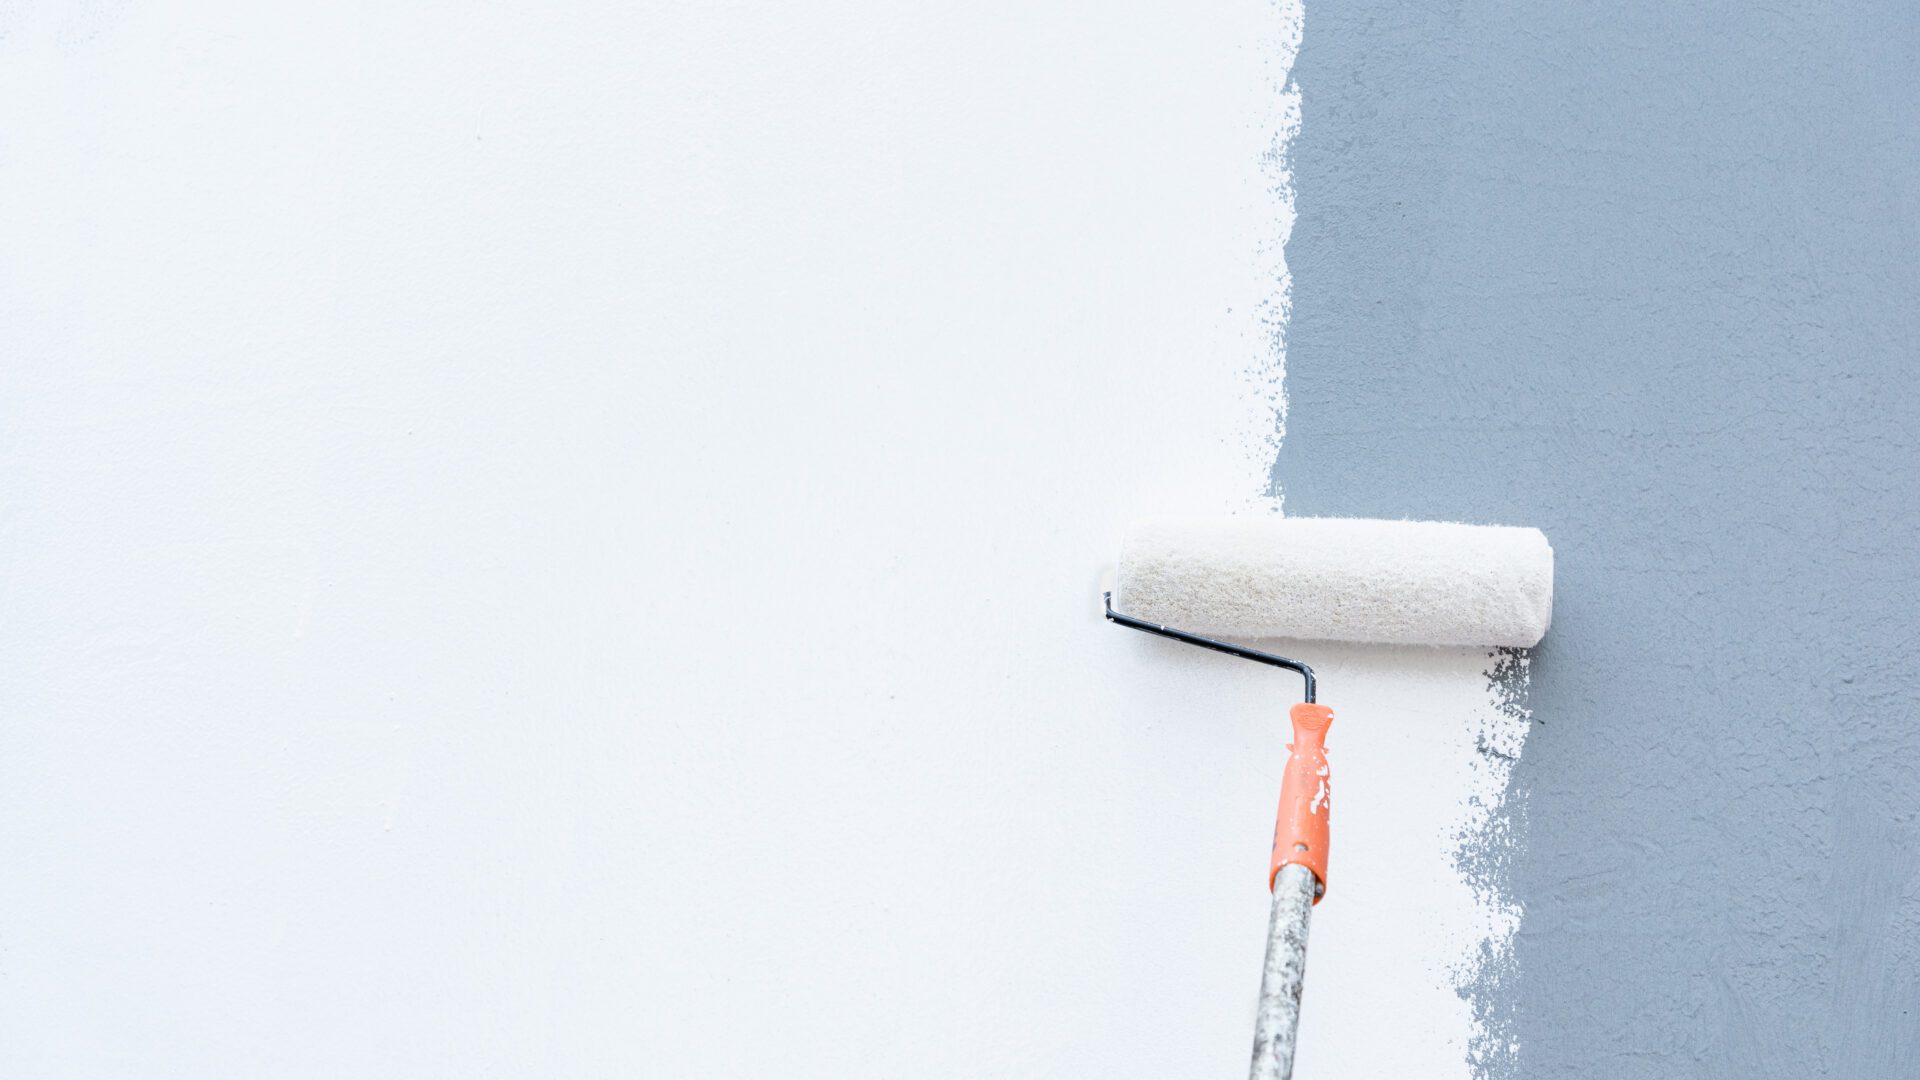
- The “W” Technique: When rolling, professionals often work in small sections, applying the paint in a “W” pattern and then filling in the center with uniform vertical strokes. This ensures the paint is distributed and back-rolled evenly.
- Cutting-In Last: For interior walls, the cutting-in (painting the edges near the trim and ceiling) should be done just before the main wall rolling. This keeps the wet edges fresh and prevents the roller from dragging half-dry paint across the wall, which often creates heavy build up near the borders.
- Box and Strain: Pouring only enough paint for the day into the roller tray and keeping the main container sealed prevents contamination and avoids using paint that has thickened excessively from exposure to air, which can contribute to heavy film thickness.
Q & A: Sagging and Running Prevention
Can I thin the paint myself if it seems too thick to avoid sagging?
You should avoid thinning paint unless explicitly directed by the manufacturer, and only use the recommended solvent (usually water for latex). Too much thinning compromises the paint’s viscosity and binder ratio, ruining its ability to adhere, scrub, and last. It’s better to maintain proper application thickness and control temperature.
Does the paint sheen affect how much a paint will sag?
Yes. High sheen paints (semi-gloss and gloss) tend to sag more easily than flat or eggshell paints. That’s because gloss finishes often have higher viscosity to achieve that hard, smooth film, making them more susceptible to gravity if applied too heavily. They require a more controlled, thinner application.
Why do my runs appear mostly near the bottom of the wall?
Gravity is at work. Even a perfectly applied coat will experience some minimal downward flow before setting. If you’ve overloaded the wall even slightly, the liquid accumulation at the lowest point, near the baseboard or where the roller stops, is where gravity’s effects become visible as a run or curtain.
Find Precision in Every Coat
Preventing paint sagging is not about rushing; it’s about precision. It requires understanding the chemistry of the paint film and the dynamics of the application environment. DIY attempts often fail because controlling thickness and temperature consistently across a large vertical surface is a specialized skill.
At Proper Painting LLC, our team is trained in the material science and application techniques necessary to guarantee a uniform, sag free finish. We meticulously monitor substrate temperature, use precision tools for application, and understand the flow characteristics of premium paint lines. We ensure your finish looks exactly as intended: flawless.
Don’t let gravity ruin your paint project. Contact Proper Painting today to ensure your next vertical surface is finished with professional smoothness and durability.